
Install ShopClass
ShopClass installs like most PHP software: upload a release to your web root (the folder your website serves files from) and open the site in a browser. There is no build step and no command line needed on the server.
Server requirements
Section titled “Server requirements”| Requirement | Minimum |
|---|---|
| PHP | 8.0 or newer |
| PHP extensions | mysqli, gd, curl, mbstring, openssl, zip, json, ctype, fileinfo, posix |
| Database | MySQL 5.7.5+ or MariaDB 10.2+ |
| Web server | Apache or nginx |
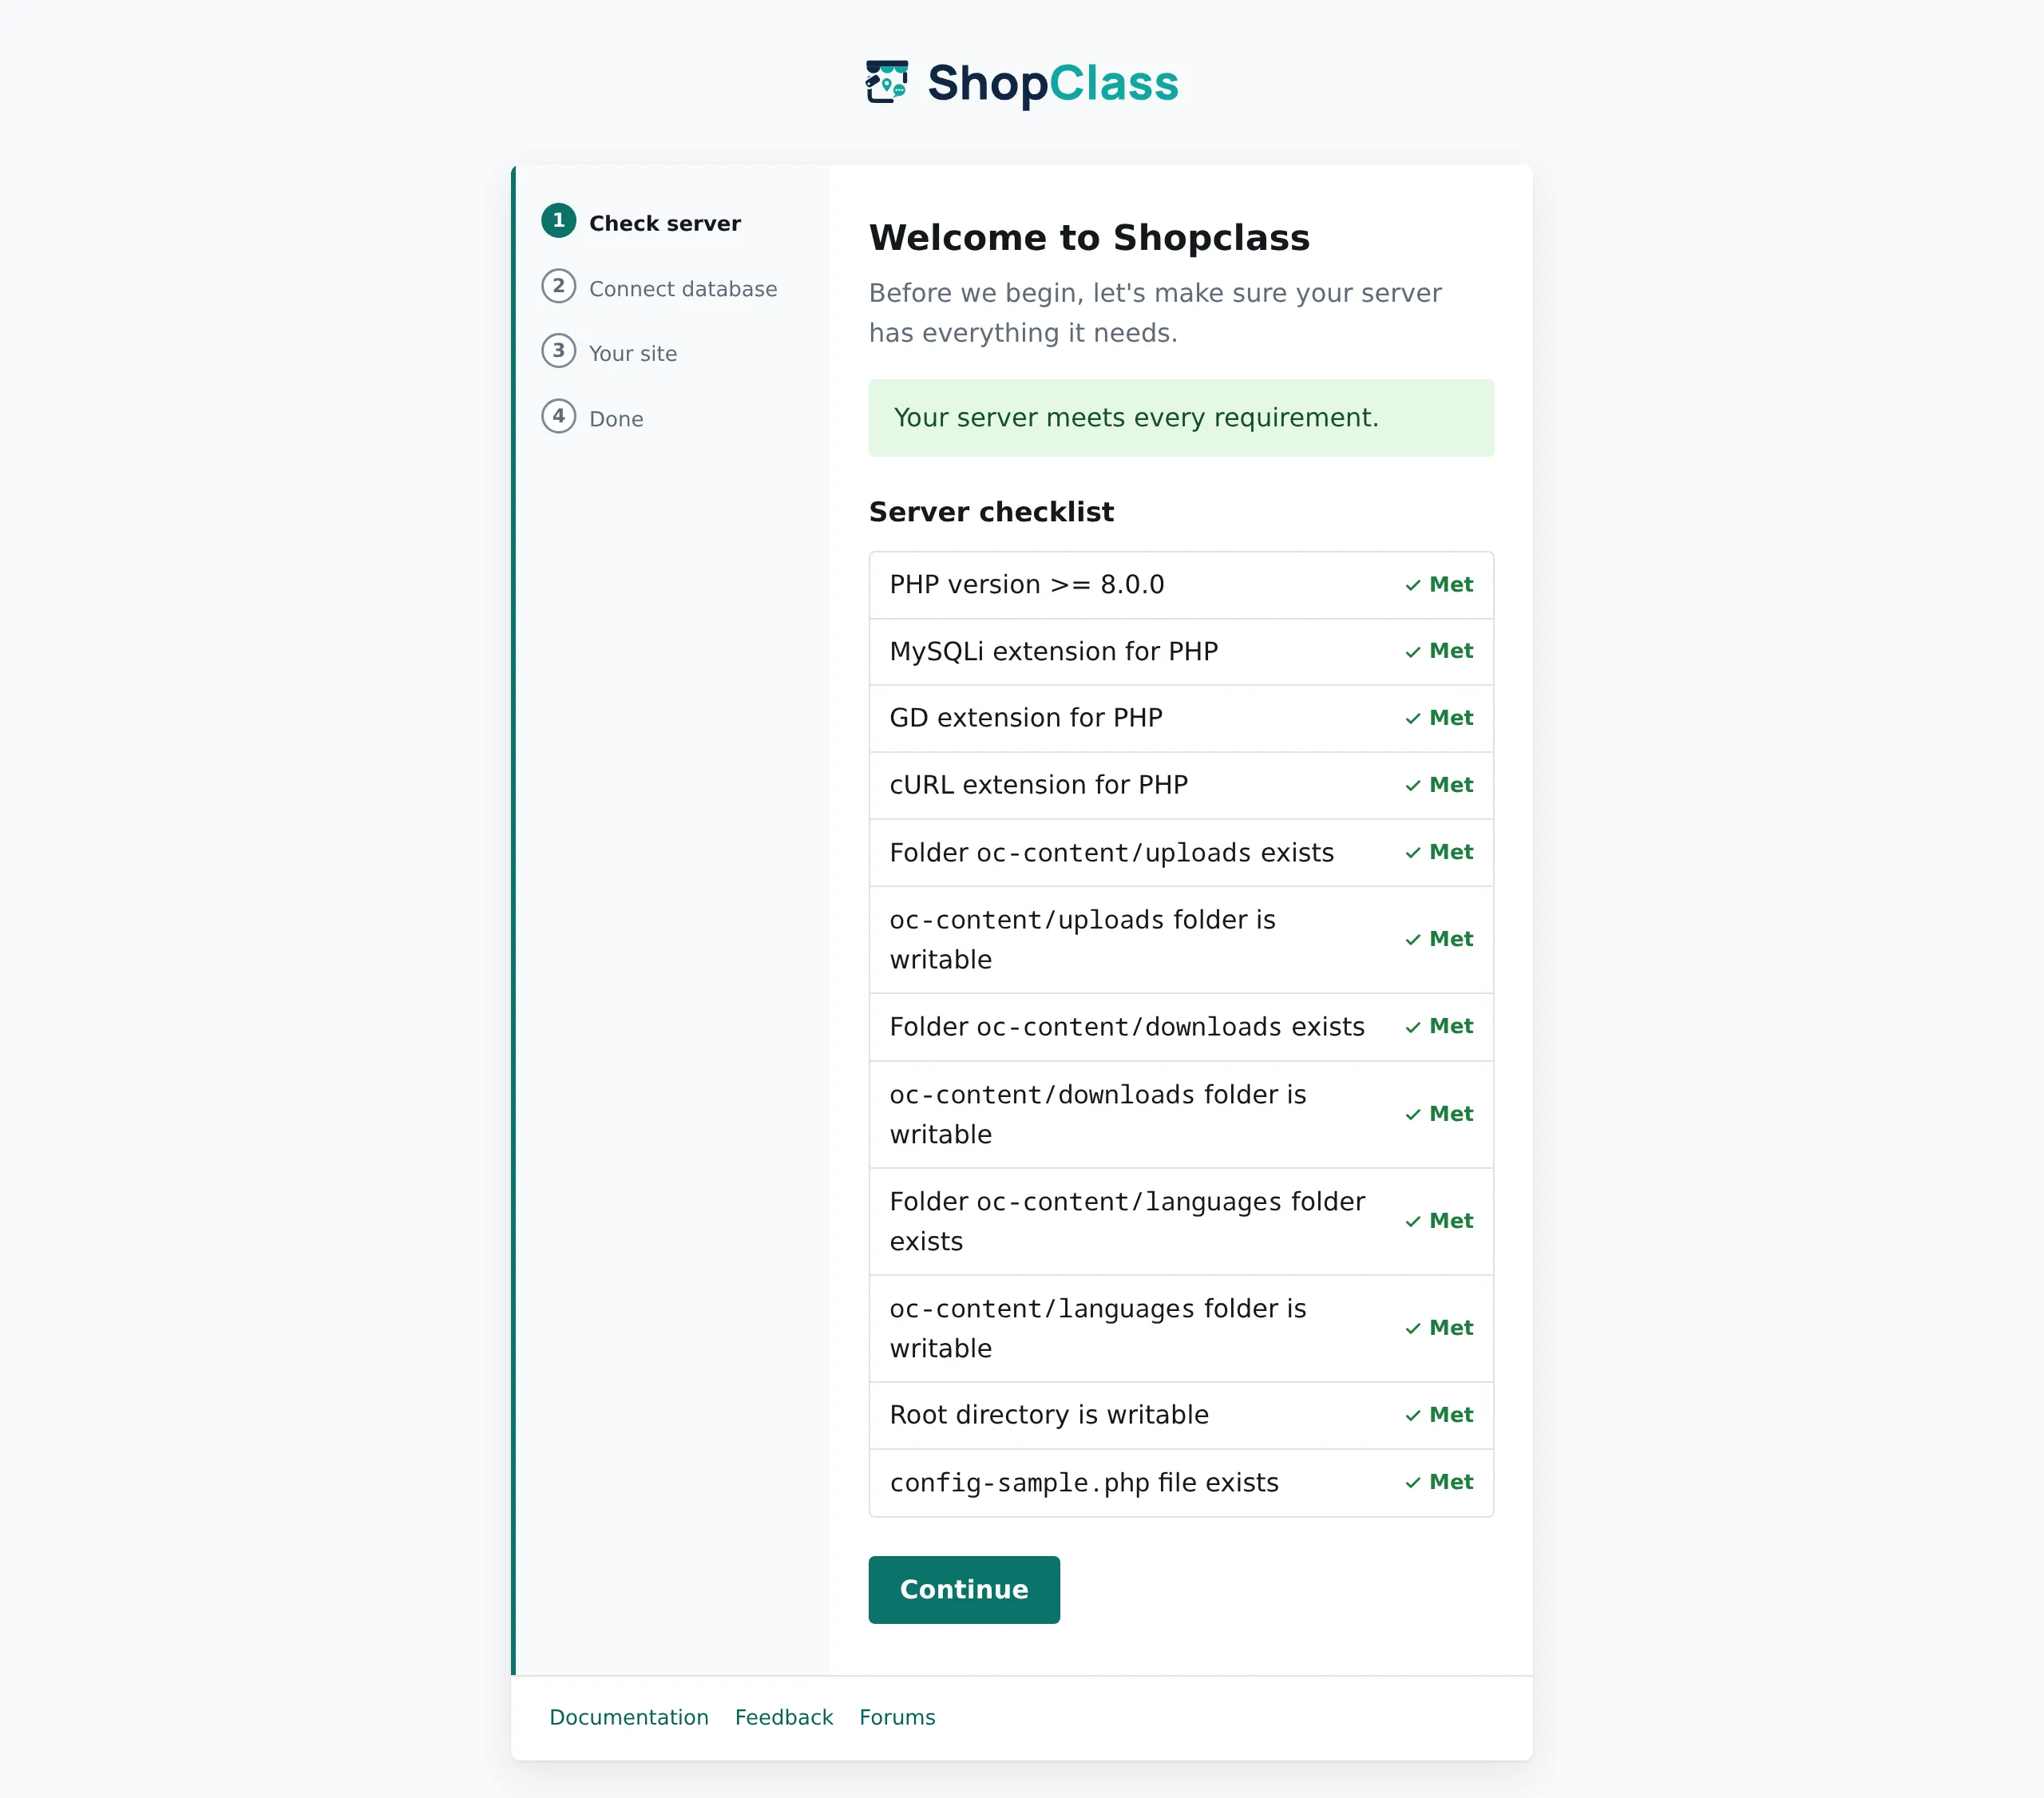
Almost every shared host meets this today. If you are not sure, run the installer anyway. Its first step checks your PHP version, key extensions (MySQLi, GD and cURL) and your folder permissions, and tells you exactly what is missing before anything is written.
1. Download a release
Section titled “1. Download a release”Download the latest package from the Releases page.
2. Unpack it into your web root
Section titled “2. Unpack it into your web root”Upload and extract the package into the directory your domain serves, usually
public_html, htdocs or /var/www/html.
You can also install into a subdirectory (public_html/classifieds), in which
case your site lives at https://example.com/classifieds/.
3. Create a database
Section titled “3. Create a database”From your hosting control panel, create an empty MySQL or MariaDB database. Create a user with full privileges on it too. Write down these four values: the installer asks for them next:
- database host (usually
localhost) - database name
- database user
- database password
If your database listens on a non-default port, enter the host as host:port.
4. Run the installer
Section titled “4. Run the installer”Open your site in a browser (https://example.com/) and the installer starts
automatically. If it does not, go straight to
https://example.com/oc-includes/osclass/install.php.
Step 1 · Check server
Section titled “Step 1 · Check server”The installer confirms your PHP version, the required extensions and folder write permissions up front, so nothing fails halfway through. Fix anything flagged here before continuing.
Step 2 · Connect database
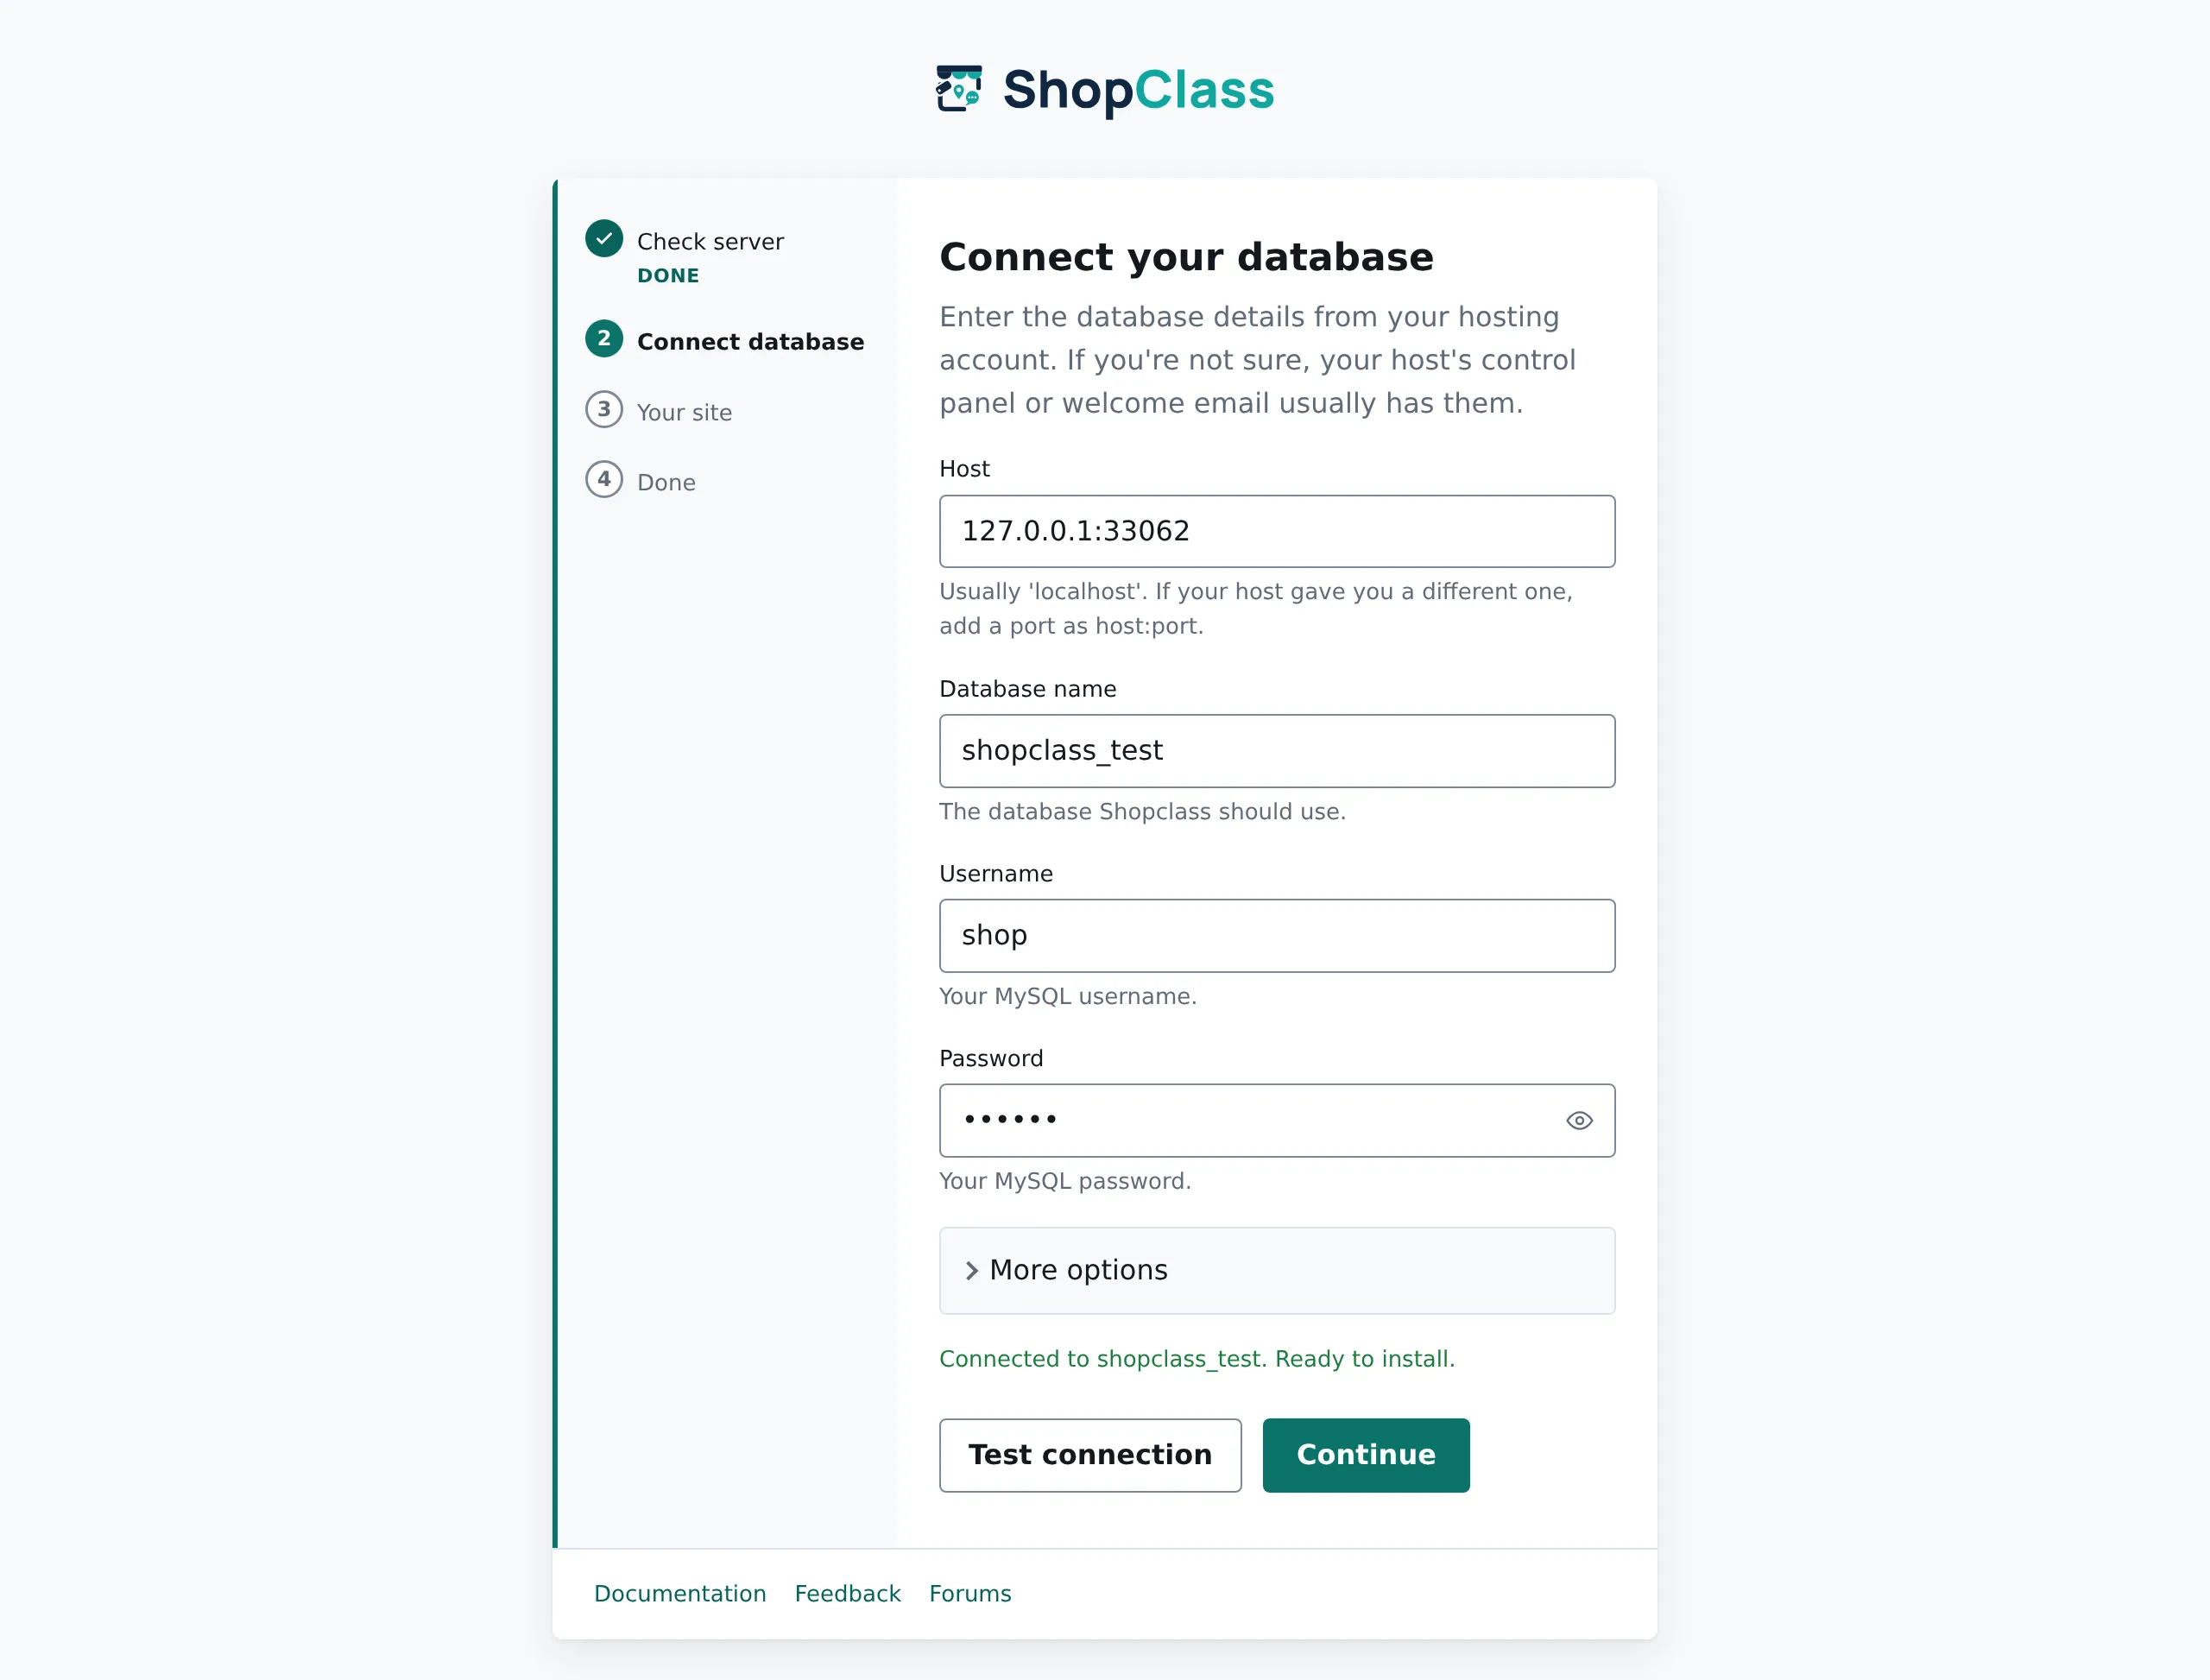
Section titled “Step 2 · Connect database”Enter the details from step 3 and press Test connection to confirm they work
before anything is written. On success, the installer writes config.php for
you and creates the schema.
Step 3 · Your site
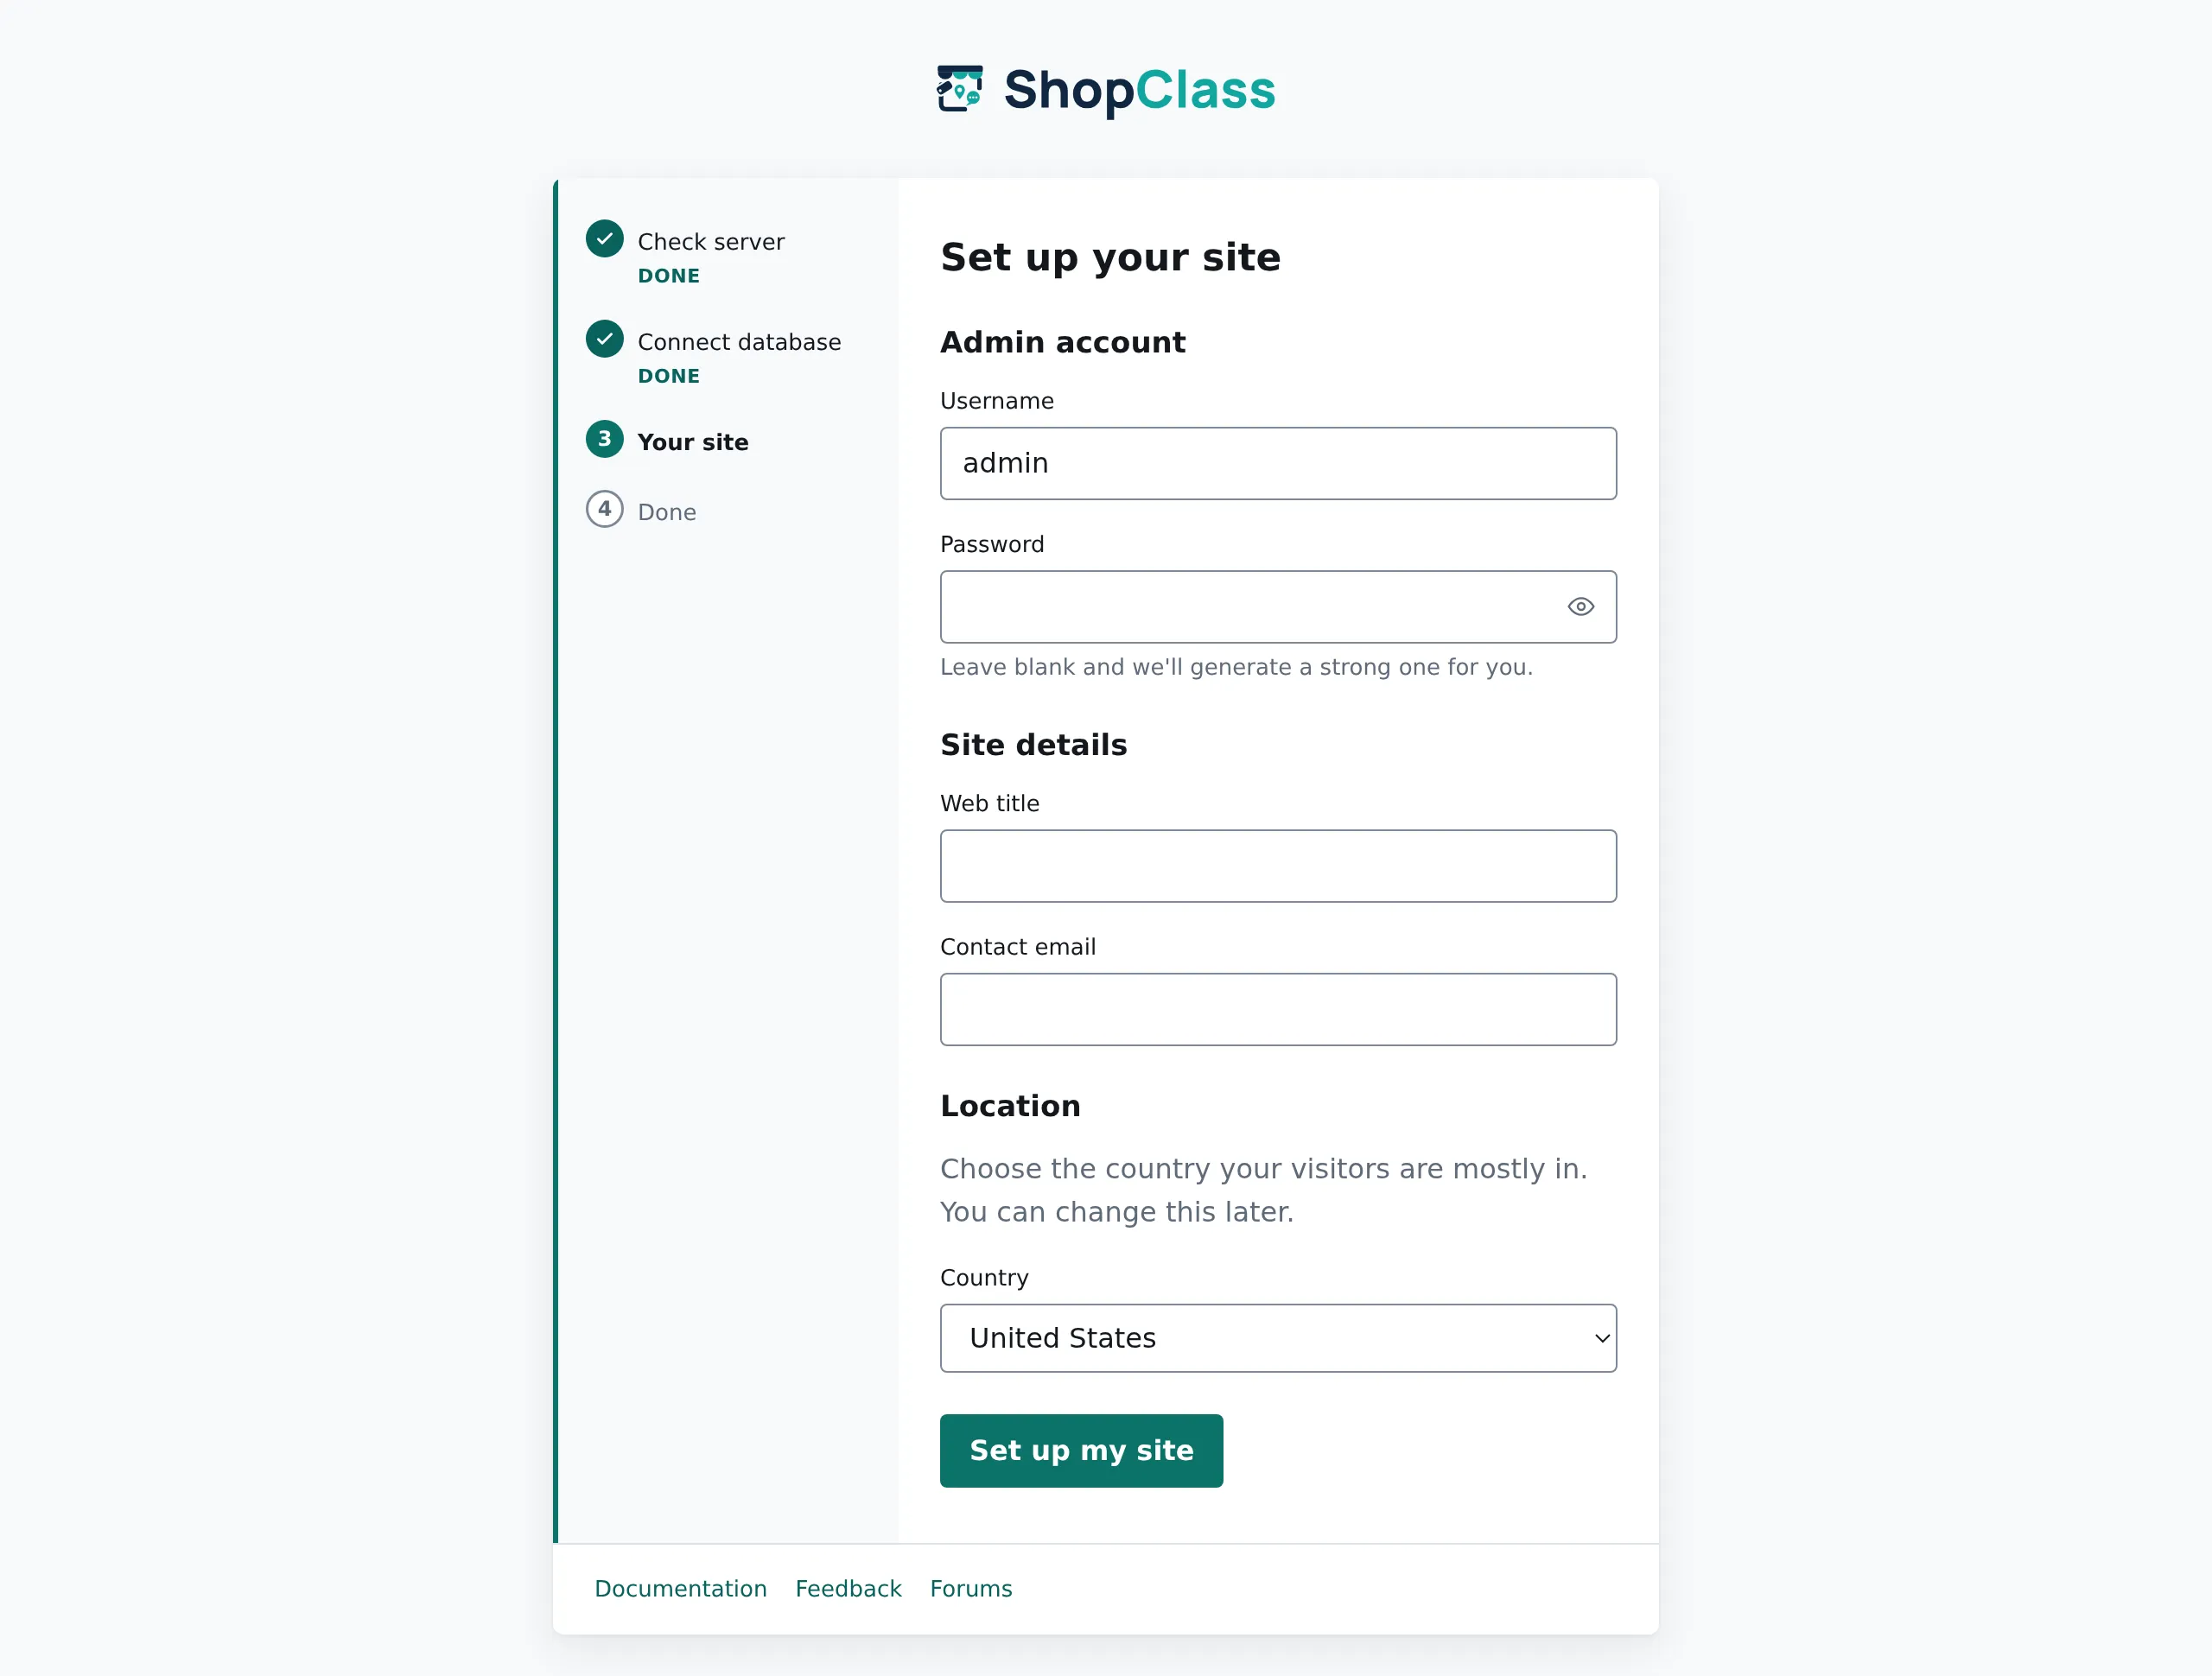
Section titled “Step 3 · Your site”Pick an admin username, your site title, a contact e-mail and your country. Leave the password field blank and a strong one is generated for you.
Step 4 · Done
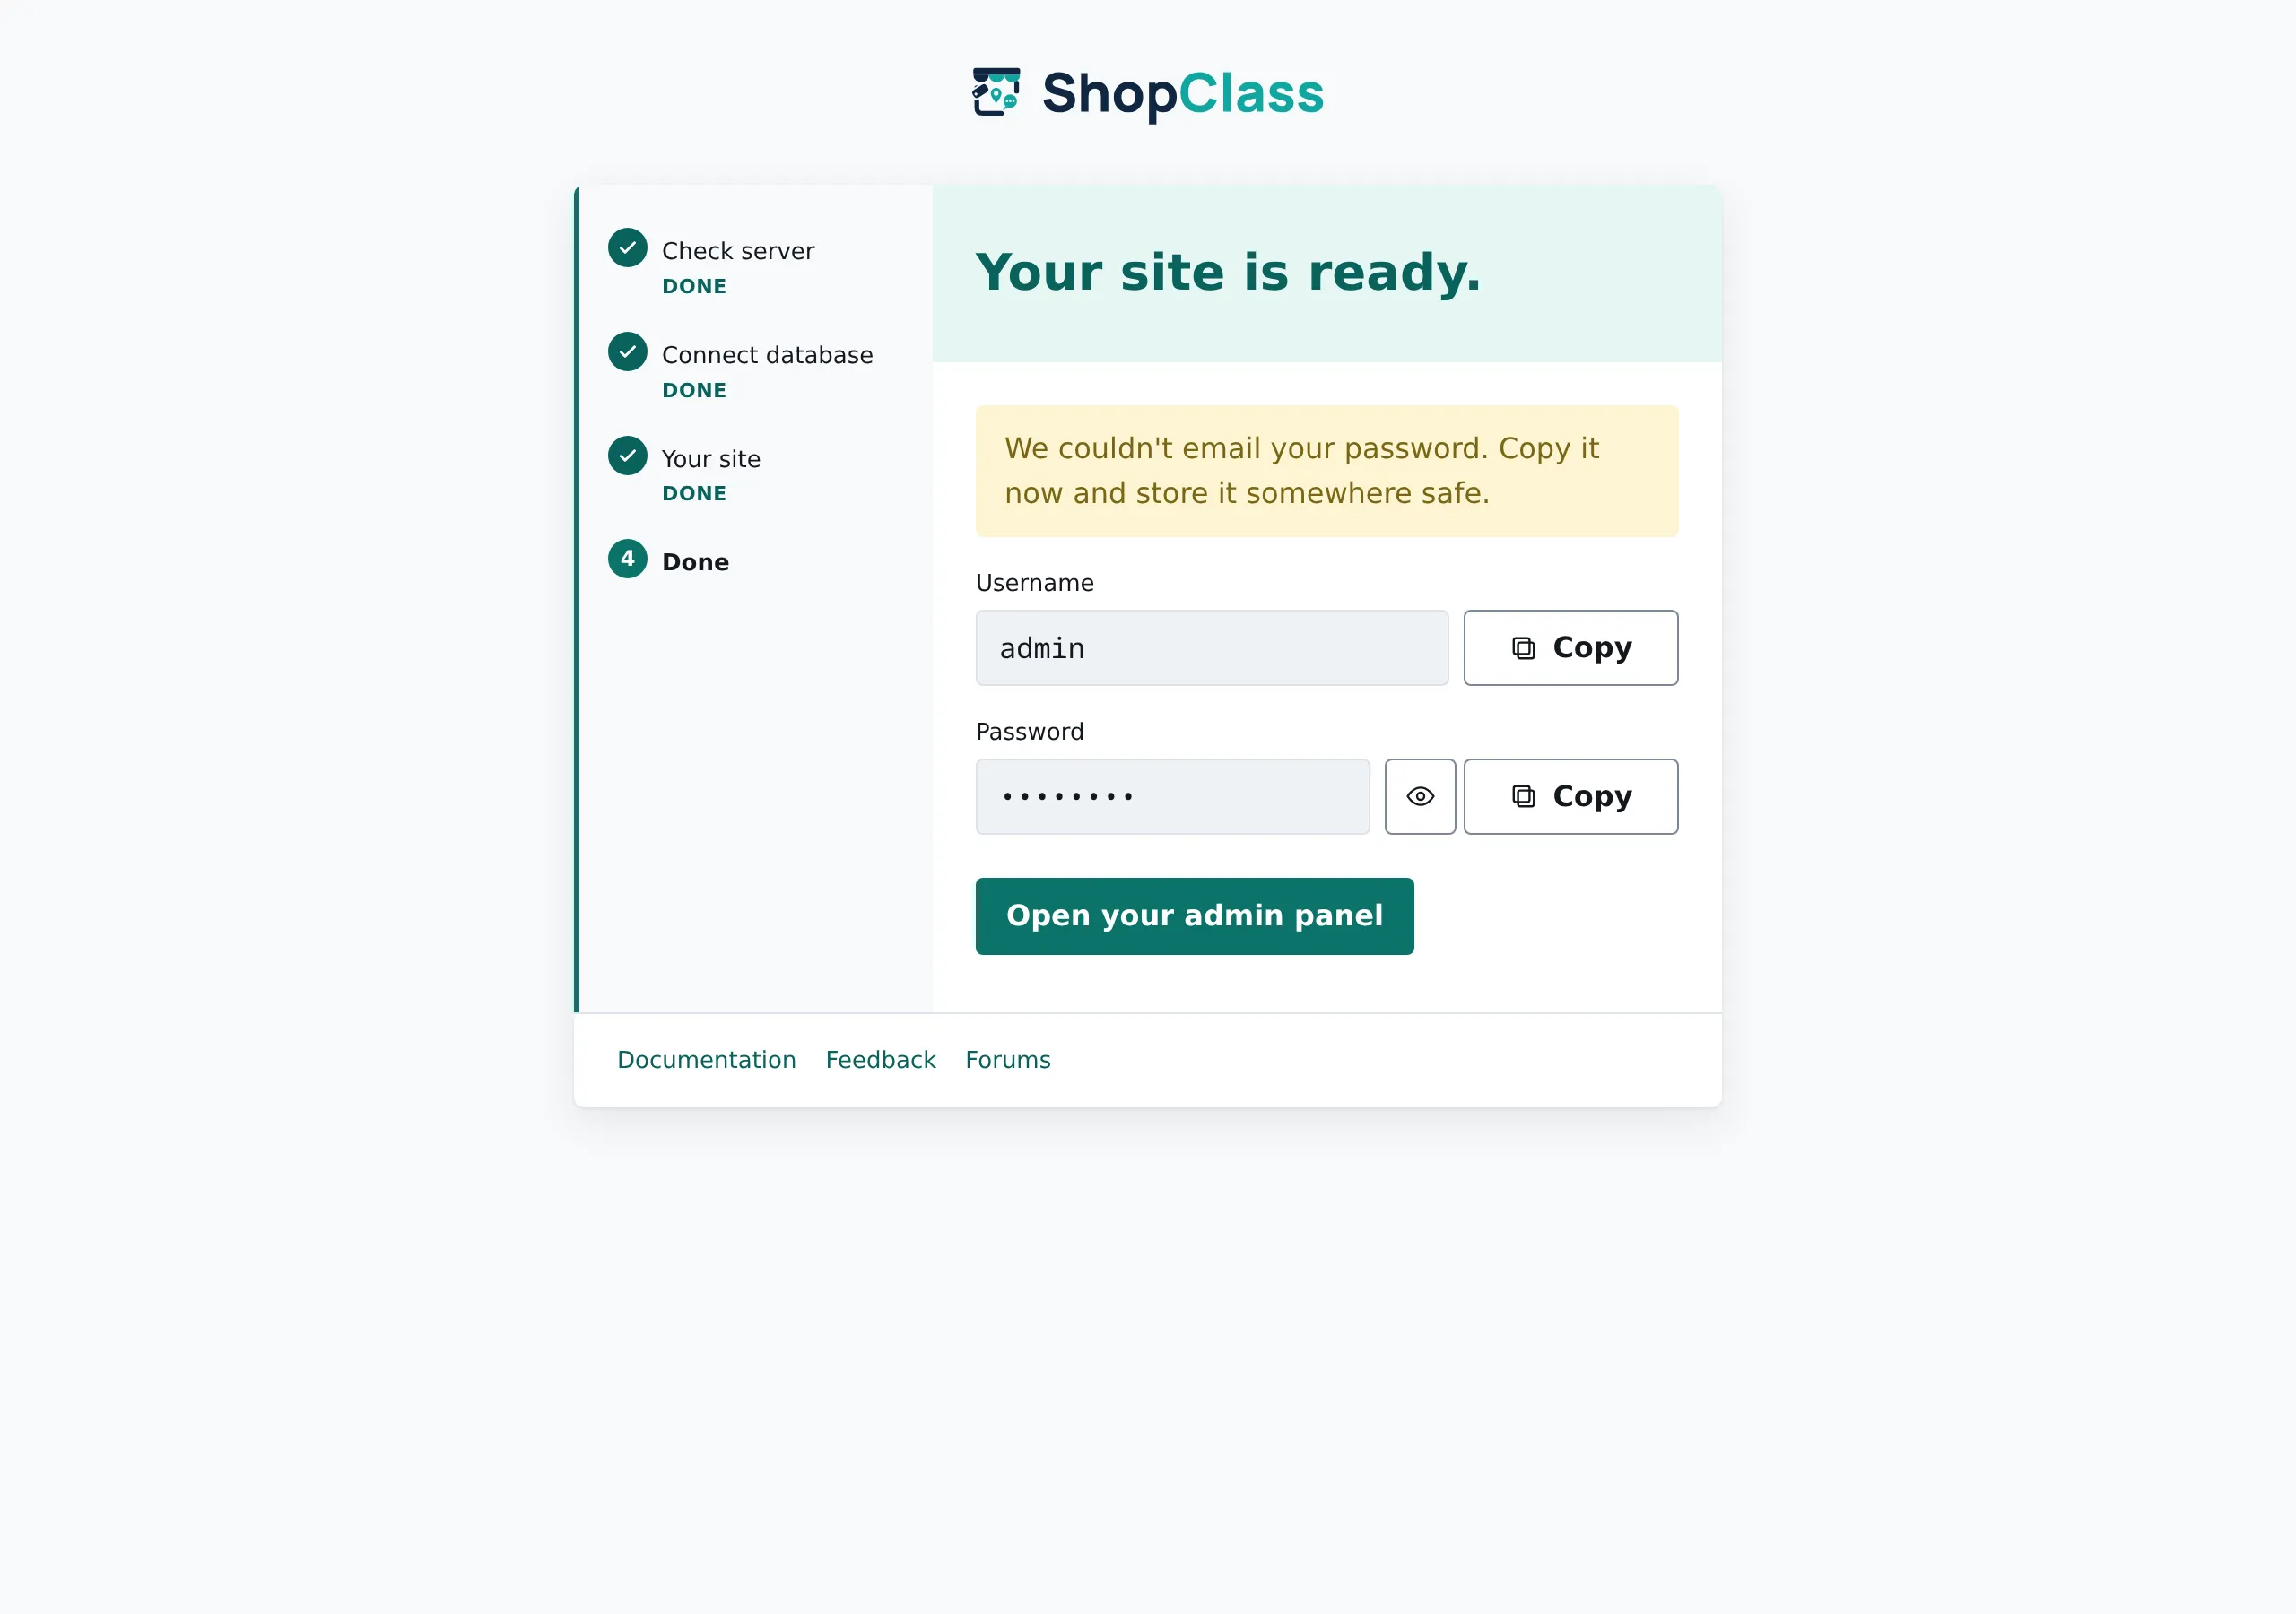
Section titled “Step 4 · Done”Copy the admin password (it is also e-mailed to you) and open the admin panel.
5. Sign in
Section titled “5. Sign in”Your admin panel is at https://example.com/oc-admin/.
The installer only runs once. If the site is already set up it shows a short notice instead of re-running.
After installing
Section titled “After installing”A fresh install works, but three things are worth doing on day one:
- Set up cron: without it, e-mail alerts never send and expired listings never expire.
- Configure your mail server: registration and contact e-mails depend on it.
- Install location data for the countries you serve, so visitors can filter by region and city.
Installing without a browser
Section titled “Installing without a browser”If you deploy from a script or a container image, ShopClass can install itself from environment variables:
php oc-cli.php install --unattendedSee the command-line interface for the full flag list.
Troubleshooting
Section titled “Troubleshooting”The installer says a directory is not writable.
Give the web-server user write access to the paths it names, typically
oc-content/ and its uploads/ and downloads/ subdirectories. On most hosts
755 on directories is enough; 777 is almost never necessary and is worth
avoiding.
“Allowed memory size of X bytes exhausted”. See increase the PHP memory limit.
The site loads but every link 404s.
Your web server is not rewriting URLs. On Apache, confirm mod_rewrite is
enabled and that AllowOverride All applies to your web root so the shipped
.htaccess is read. On nginx, add the try_files rule from the
repository’s reference config.
Something else. Ask in GitHub Discussions. Include your PHP version, your host, and what the screen actually said.